It happens again and again that a finished printout looks good at first sight. But then you notice that your printout has gaps between the infill and the outlines.
Gaps between the fill and the outlines are usually caused by insufficient overlap between the infill and the outlines. Another possible cause for holes between the fill and the outer lines is a too high printing speed.
However, the problem can be solved in most cases by minor changes of the settings in the slicer software.
What are the causes of gaps between the fill and the outer lines??
Your printout consists of several layers built on top of each other (engl. Layers). Each of these layers in turn consists of a combination of the filling (engl. Infill) and outer lines (engl. outlines or perimeters). To get a clean and stable printout, the fill and the outer lines must overlap sufficiently.
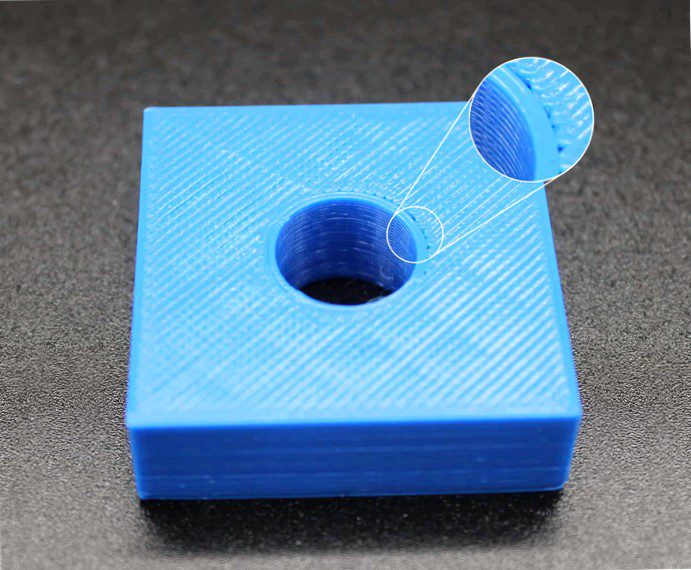
You can recognize this problem when you see small gaps or holes between the infill and the outer lines of your printout, as shown in the article image.
These gaps between the fill and the outer lines usually have the following causes:
- too little overlap between the fill and the outer lines
- too high printing speed
If you have gaps or holes on the surface of your top layers of your printout, please read the article Gaps in the top layer and follow the solutions given there.
If you have gaps or holes in the corners of the outlines of your printout, please read the article Gaps in the corners of outlines and follow the solutions given there.
How to avoid gaps between the fill and the outer lines
Adjust the value of the overlap
As described in the causes, the right amount of overlap is crucial for a clean and stable printout. If this value is too low, gaps can form in places or even continuously along this transition.
Increase the value for the overlap between the fill and the outer lines in your slicer software.
Correcting the printout speed
The overlap between infill and outline happens, as the names of the areas already tell you, at the edges of the print object. This is also where the print head direction change happens during the printing process. If the print speed is set too high and the print temperature is not high enough for this speed, the material will not be extruded from the die fast enough. In this case, not enough material may be applied to the area to be overlapped as the print head changes direction. Due to the shrinkage of the material caused by temperature, there will be gaps in the area where the filling and the outer lines overlap.
In your slicer software, gradually reduce the overall print speed. Check with a test print whether the change has achieved the desired effect.
In general, if you print slower, you will increase the quality of your printout.
It is important to note, however, that the selected print speed matches the set print temperature. If you print too slowly at a high printing temperature, this can very quickly lead to over-extrusion or even traces of burns in the printed object. Conversely, printing too fast can result in too low a print temperature u.a lead to under-extrusion or even gaps in the top layer.