
Finding good, free CAD software is no easy task. There are many great 2D CAD programs out there like TurboCAD or AutoCAD, but how many quality options are totally free?
You could always try using free drawing apps, like the one Saikat Love Doodles reviewed? Here are 8 websites to show your love for doodling love doodles? Here are 8 websites where you can show off your love of doodling. Read more – but they don't offer the accuracy and features that 2D CAD software does.
There is a free CAD software package that Angela briefly covered in 2011. It's called LibreCAD. Free CAD drawing for Linux, Windows and Mac. Using LibreCAD. Free CAD drawing for Linux, Windows and Mac. LibreCAD can be used for all types of 2D design, including architectural plans, structural drawings, graphic design, and mechanical part design. The… Continue Reading. In this article, Angela introduced you to the drawing window and how to get started creating some basic shapes and dimensions.
Since then, the software has been updated several times. The last update was on 8. February 2012 instead of. If you're strapped for cash and need really high quality 2D CAD software, I'll show you a few quick tips to take full advantage of what LibreCAD has to offer.
LibreCAD is free CAD software you can rely on
LibreCAD is available for several operating systems, including Mac, Windows or Linux. Therefore, there is something good here for everyone.
Tip 1 – Set your default units to save time
The first tip: slow down the installation and select the default units you are likely to want to use when launching this software.
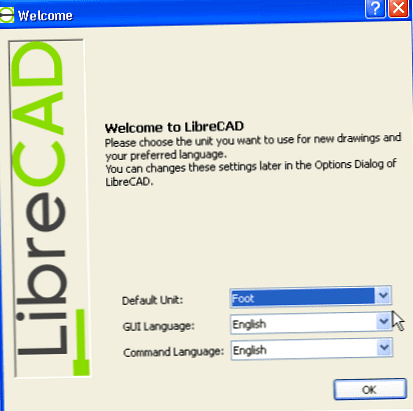
This can save you a lot of time later when opening new drawings. The software automatically uses your preferred units.
Tip 2 – Use tooltips to navigate the button menu
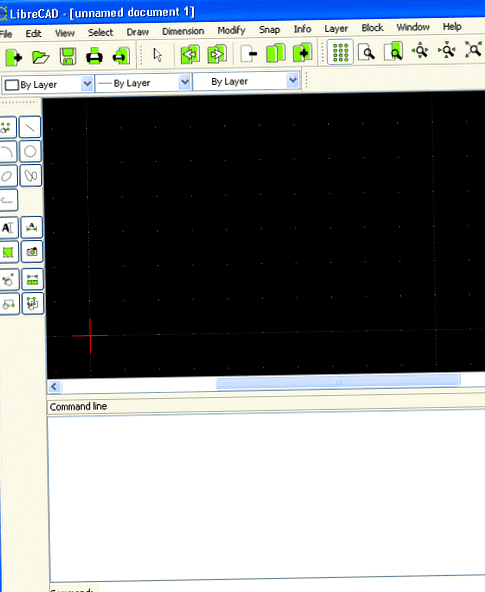
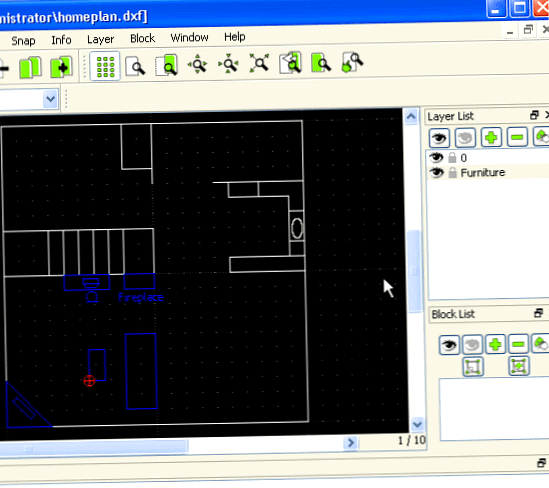
When you run LibreCAD for the first time, all the drawing tools on the left side of the screen are grouped into just a few buttons. Each of these tools contains the entire subset of additional tools. For example, if you click "Line" Also, there are a number of additional tools that allow you to draw lines and shapes with lines.
The sign of a well written software is that when you hover over a button, a tooltip will show what that graphical button means. If you are confused with LibreCAD about the icon on a button, hold your mouse over the icon for tips.
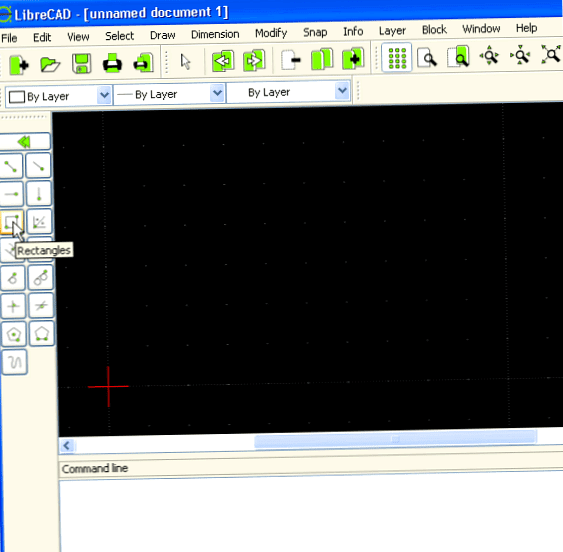
No matter how complicated the function of the button is, the tooltip will explain its purpose to you.
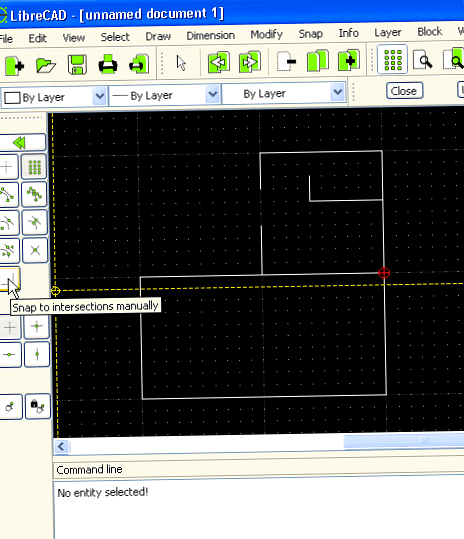
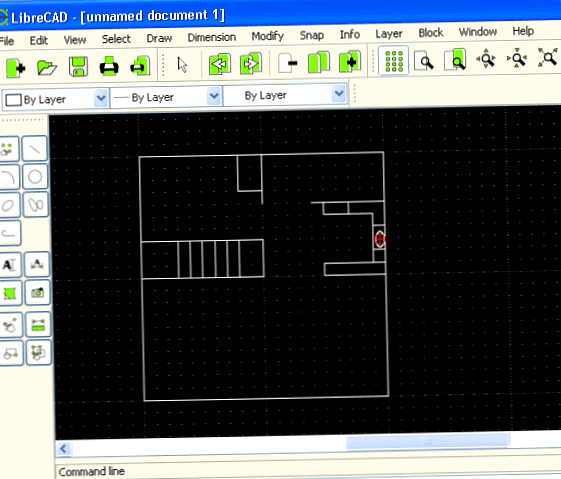
As you can see above, I have started drawing the floor plan for part of our house.
Tip 3 – Use the snap option to make drawing easier
If you have ever used drawing software without CAD, you know that creating straight lines and aligning objects in the drawing is not always easy.
In LibreCAD, you can enable the snap to grid feature so that the lines and shapes you draw snap to the dot grid, making the elements of the drawing a breeze to draw.
Tip 4 – Use layers to create your drawing
In my opinion, the best thing about drawing with CAD software is the fact that you can create "layers", which are basically drawings that can be placed "on top" of other drawings. It's soft like a transparent plate with certain elements drawn on it that you can add or remove over an existing drawing.
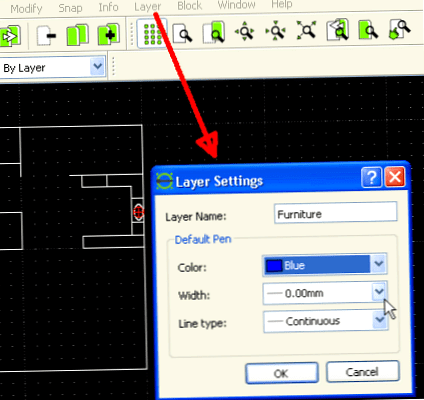
Use the "layer" menu item to add a new layer to your drawing and choose a color for the objects in that layer.
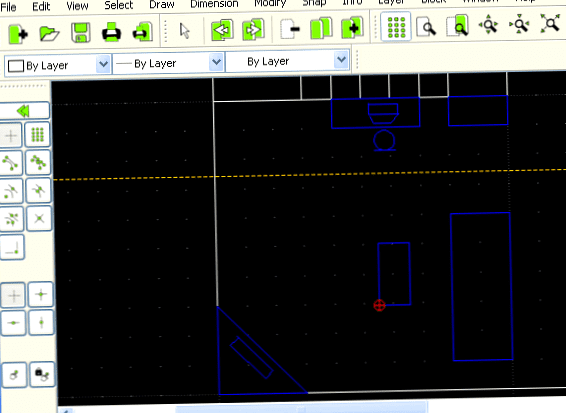
Now when you start drawing, you'll notice that all the lines use the default color for that layer. While you are working on developing your overall drawing, this is a great way to keep object types or larger components of your drawing well organized.
If you want to focus on this group of objects or just remove the clutter for the rest of your drawing, you can simply add and remove layers to make it easier to focus on the details.
Tip 5 – Use text throughout the drawing
This tip really depends on the type of drawing you are currently working on. In most cases, however, you can't have too many labels in a drawing. Use labels to spell out what objects should be or what different areas of your drawings should be used for.
Text is really easy to add in LibreCAD. Simply click the Text button on the left menu, then select the size, font, and orientation.
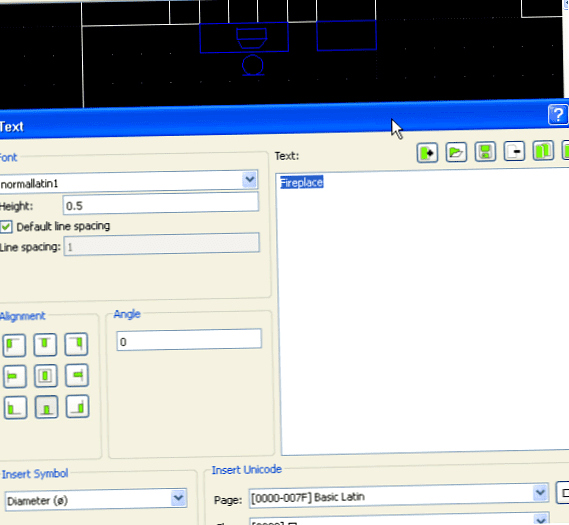
When you are done formatting, you can simply place the text anywhere in the drawing.
In this example, I put text in the same layer as the furniture, but many people prefer to create all the drawing text in its own layer.
Tip 6 – Make measurements in the drawing
Another really cool feature common to CAD drawing tools like this – but especially easy in LibreCAD – is the ability to measure lengths and dimensions directly in the drawing.
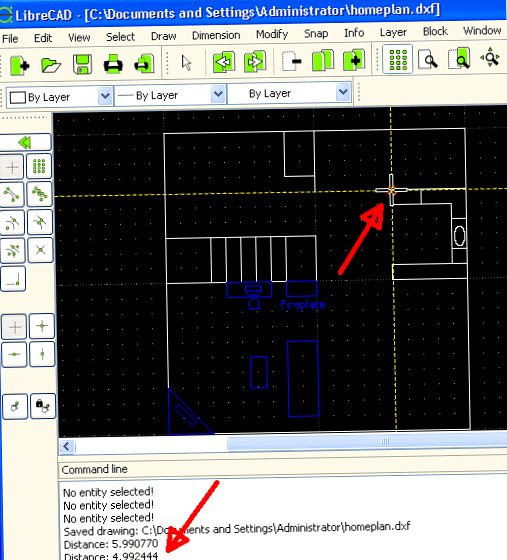
To do this, click the Line Measurement tool in the left button menu and then click two points in the drawing. The distance between these two points (using your default units – remember?) Displayed in the lower status display area.
As you can see, LibreCAD is not only very easy to use free CAD software, but also extremely functional. These six tips are just the tip of the ieburg. As you explore the software further and create your own drawings, you're sure to discover your own favorite features.